विशेष लेख
How to Draw a Sapling
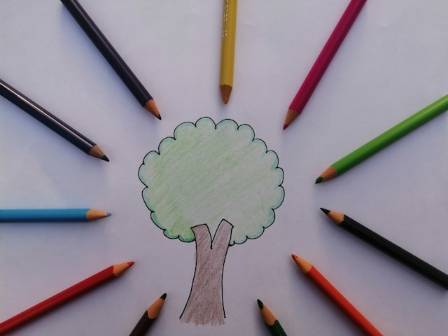
In this lesson, you’ll discover how to draw a young tree, also called a sapling. The process begins by sketching the basic shapes, such as the trunk and main branches, before adding finer details that reflect its growth. Observing how a sapling naturally looks will help you create a more realistic representation.
Casey Morgan
लेखक
लेख परिचय
नीचे पूरा लेख पढ़ें।
अनुभाग
समाचार

In this lesson, you’ll discover how to draw a young tree, also called a sapling. The process begins by sketching the basic shapes, such as the trunk and main branches, before adding finer details that reflect its growth. Observing how a sapling naturally looks will help you create a more realistic representation.
Remember, drawing is a skill that improves with practice. Don’t worry if your first attempt isn’t perfect—mistakes are part of the learning process. The more you practice, the better your sapling drawings will become. Each sketch brings you closer to creating a beautiful illustration of a young tree.
Materials Needed
Pencil
Drawing Paper
Crayons, Colored Pencils, or Markers
Black Marker (optional)
Sapling Drawing: Overview
Excited to start? Begin by sketching simple shapes to form your sapling. These initial outlines serve as the foundation for your artwork. Once the structure is in place, you can add shading to give your drawing depth and make it look more three-dimensional. You may want to glance at the full steps first to see how everything fits together. Now, let’s dive in and start creating your sapling illustration!
Estimated Time: 30 minutes
Step 1: Draw the Bag
Start by drawing a curved shape to represent the bag holding the young tree. Add a string tied around the upper part of the bag to secure it.
Step 2: Add the Bag Opening
Draw a wavy line at the top of the bag to indicate its open top. This gives the bag a more natural and flexible appearance.
Step 3: Sketch the Trunk
Above the bag opening, draw a short vertical trunk. This will serve as the main support of your sapling.
Step 4: Draw the Branches
Add slender branches extending from the trunk. Vary the length and direction slightly to make the tree look more natural.
Step 5: Attach the Leaves
Draw leaves sprouting along the branches of your sapling. Position them unevenly for a more lifelike effect.
Step 6: Add Color
Color the bag with a soft orange and the string with yellow.
Use dark brown for the trunk and branches.
Fill in the leaves with shades of green to bring your sapling to life.
This step-by-step approach will help you capture the delicate structure and beauty of a young tree. Keep practicing, and soon you’ll be able to draw saplings quickly and with confidence!
यह भी पढ़ें

टॉप गियर की टॉप 9: जीप की सबसे बड़ी हिट
ईशा

The Resurgence of the Giant Panda: 15 Remarkable Insights
Evelyn Margot Sinclair

Handcrafted Elegance: Creating Pressed Floral Glass Ornaments
Caleb Weston Pierce

लाइम पार्क को अपनी यूके यात्रा सूची में शामिल करने के 7 कारण
नवीन

मुआय थाई बनाम ब्राज़ीलियन जिउ-जित्सु
आशा

घने जंगलों में छिपे आकर्षक जीवंत पुल
पद्मा